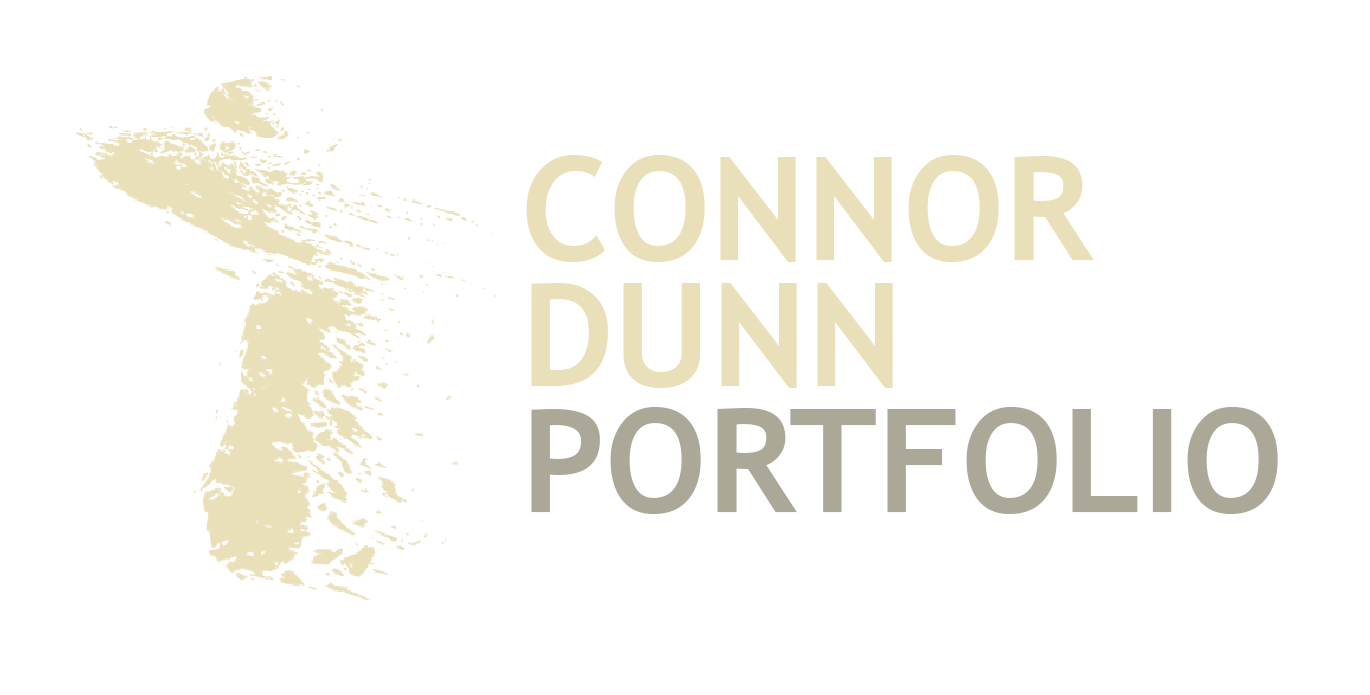

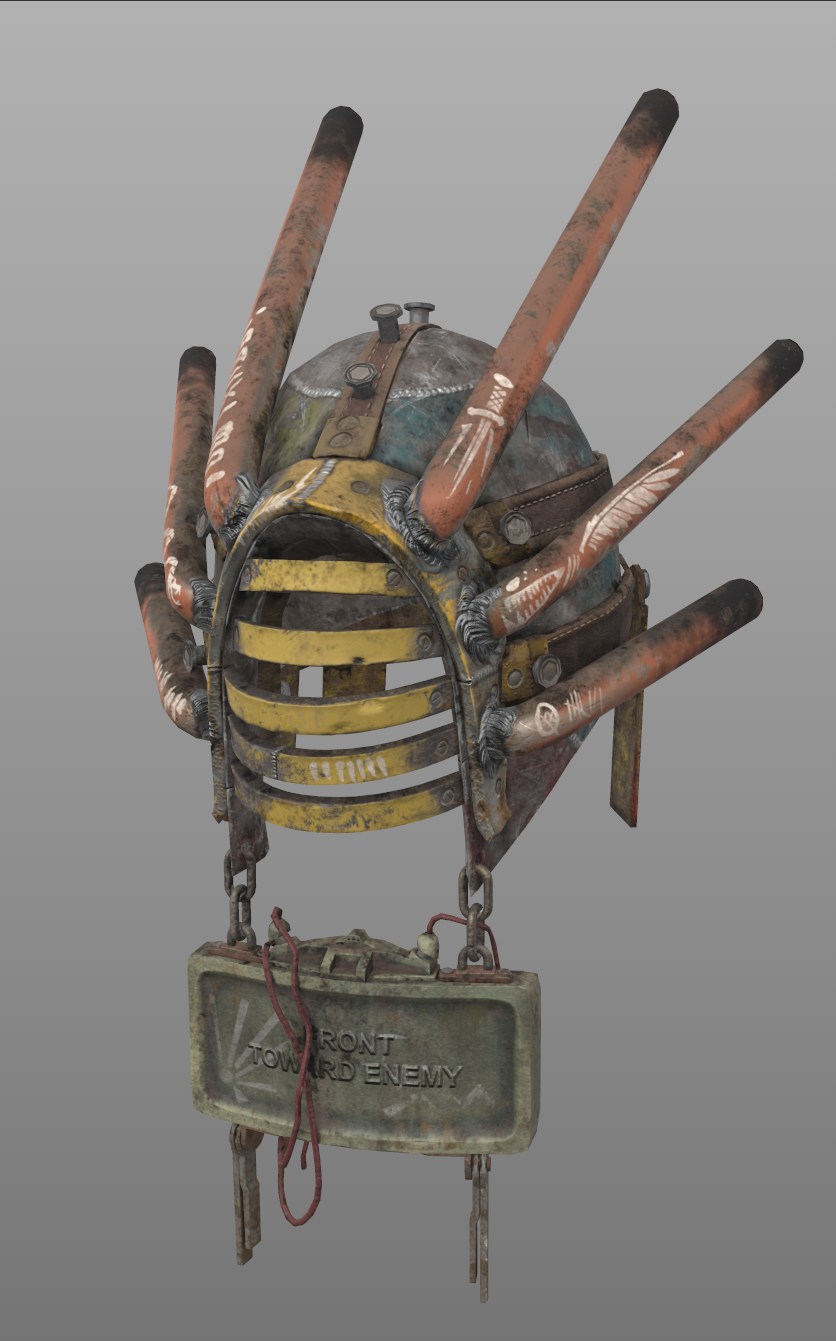
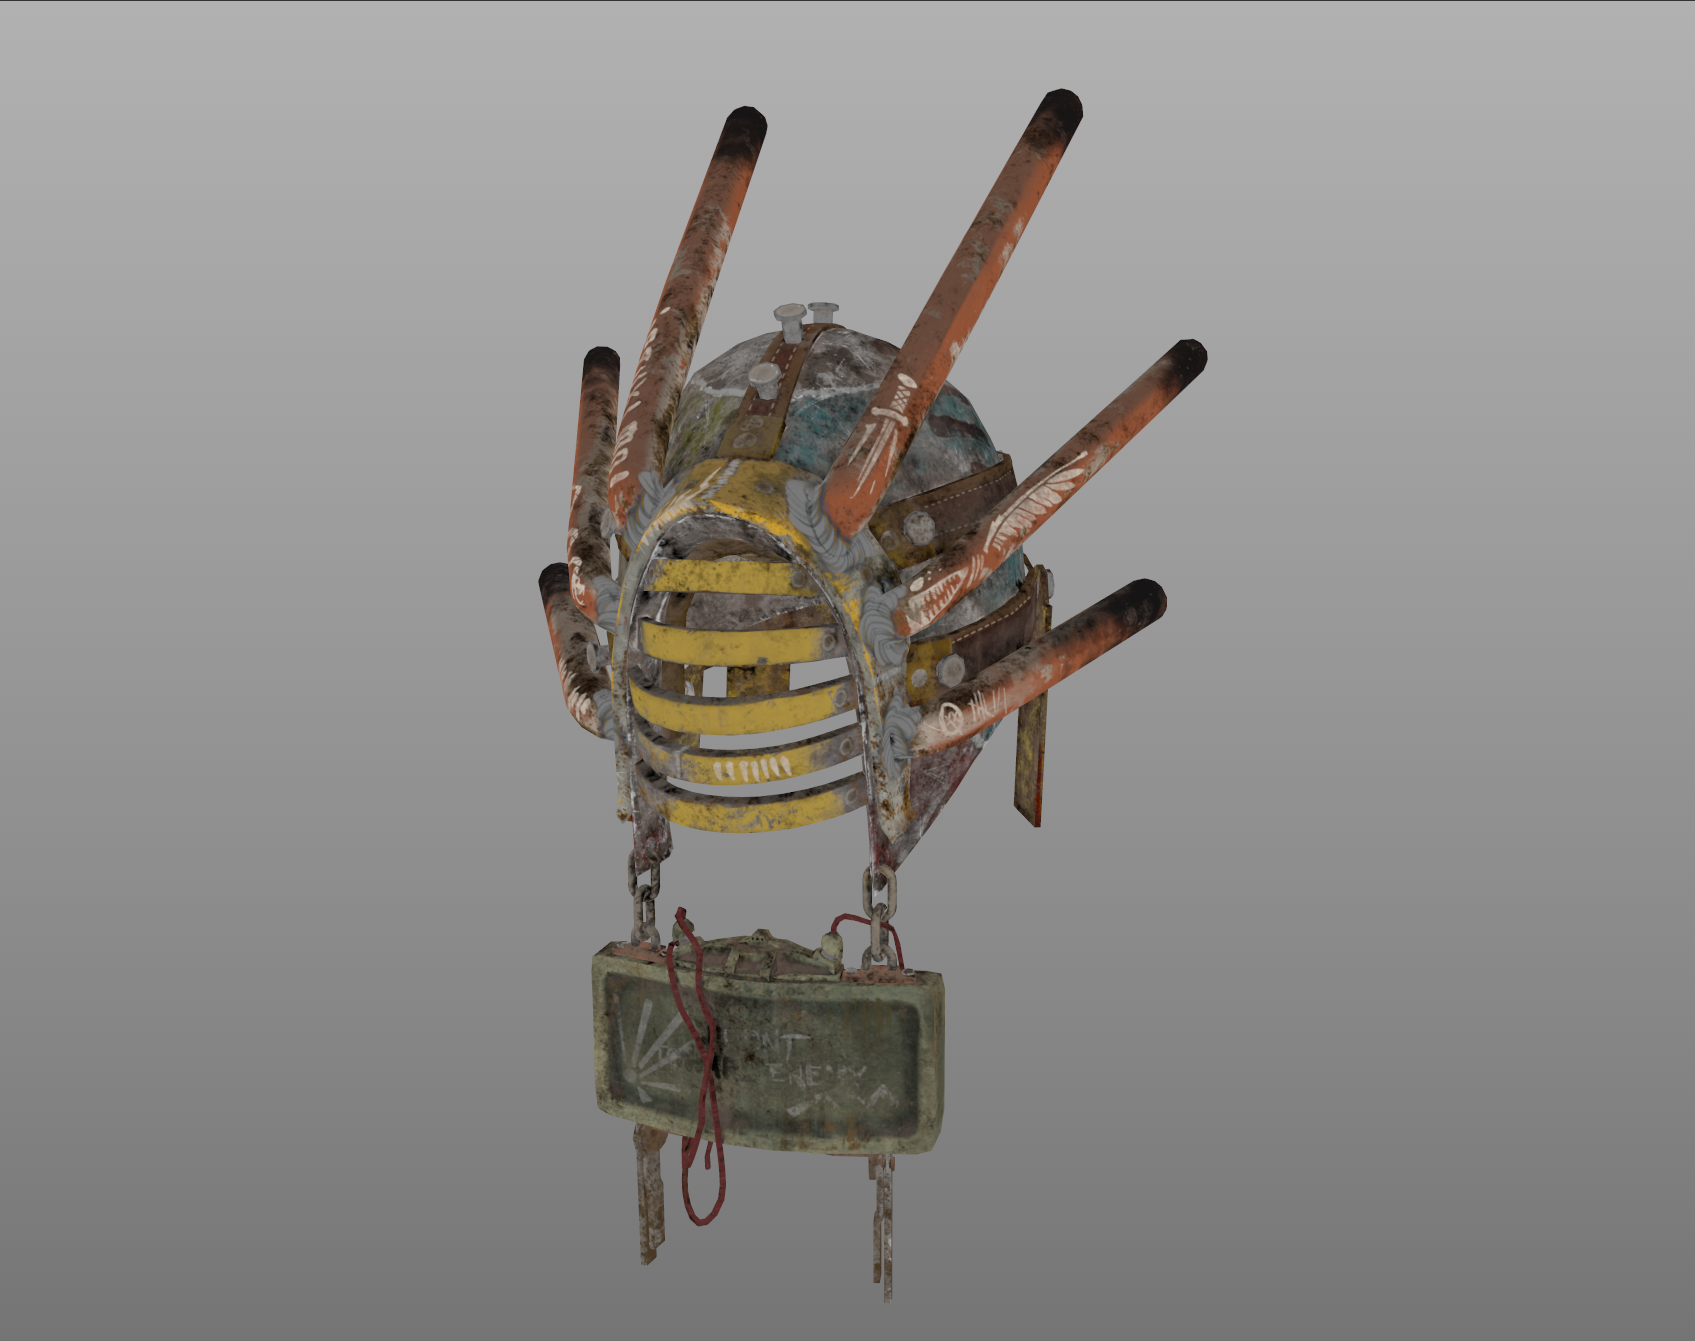
A warrior's helmet crafted by the post-apocalyptic Scraphounds of Arizona. The exhaust pipe crown is crafted in the image of the great Rust Angel, who lays claim to all metals and must be routinely appeased. The runic language on the gorget is mostly lost to time, but it's understood as a condemnation of cowardice.
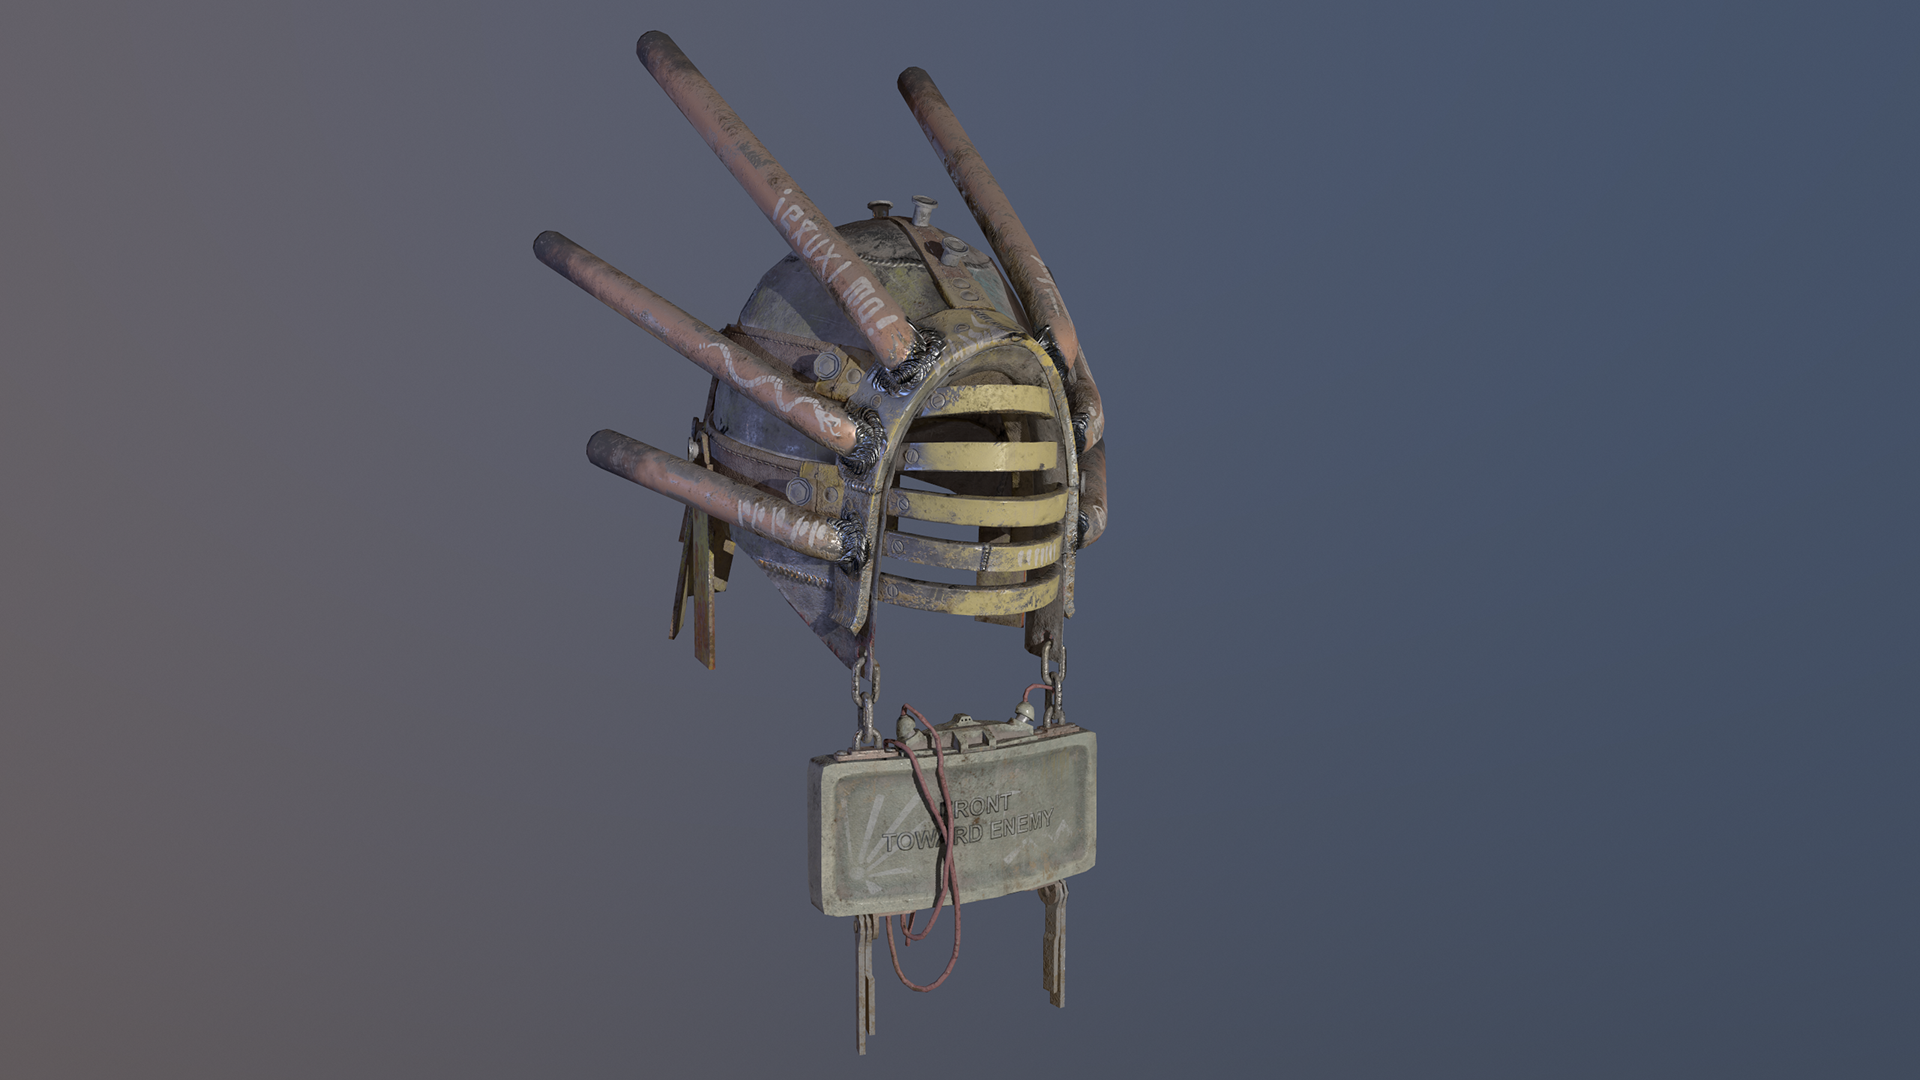
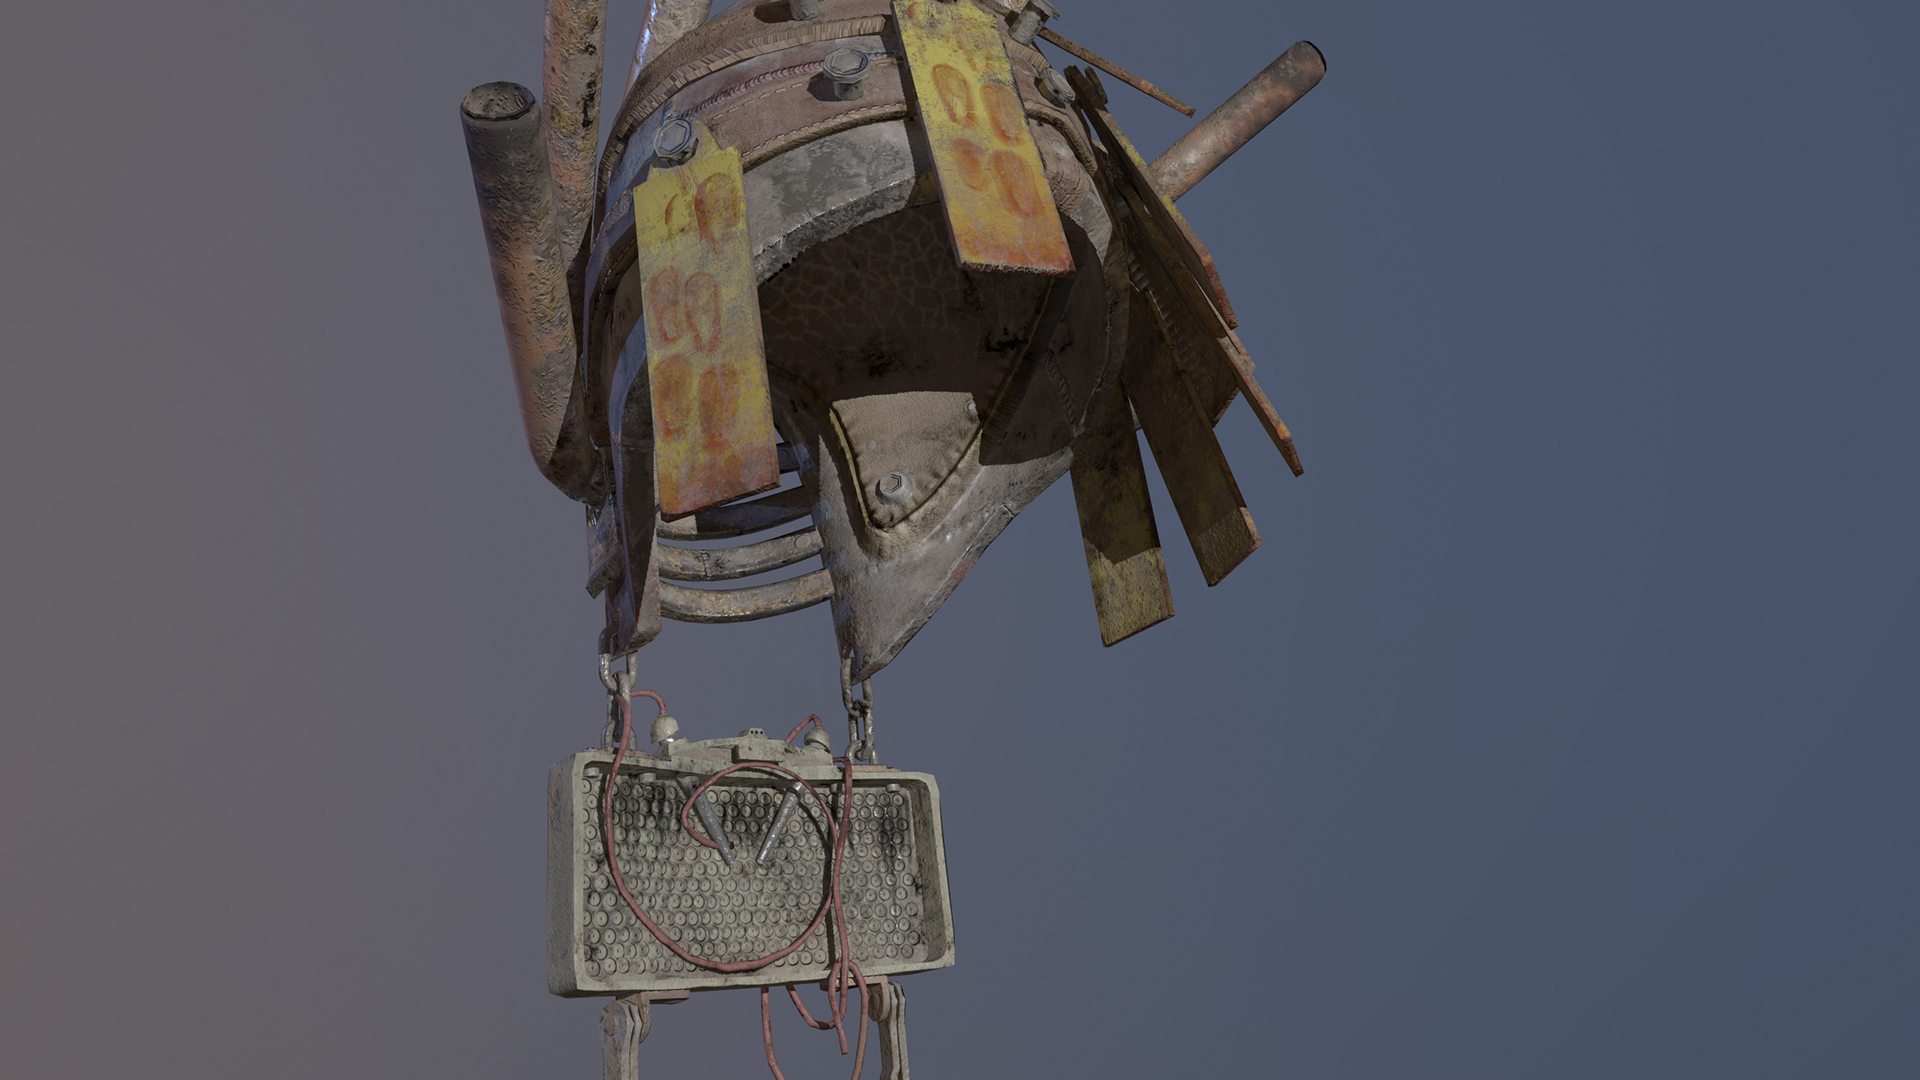
Additional renders:


The process:
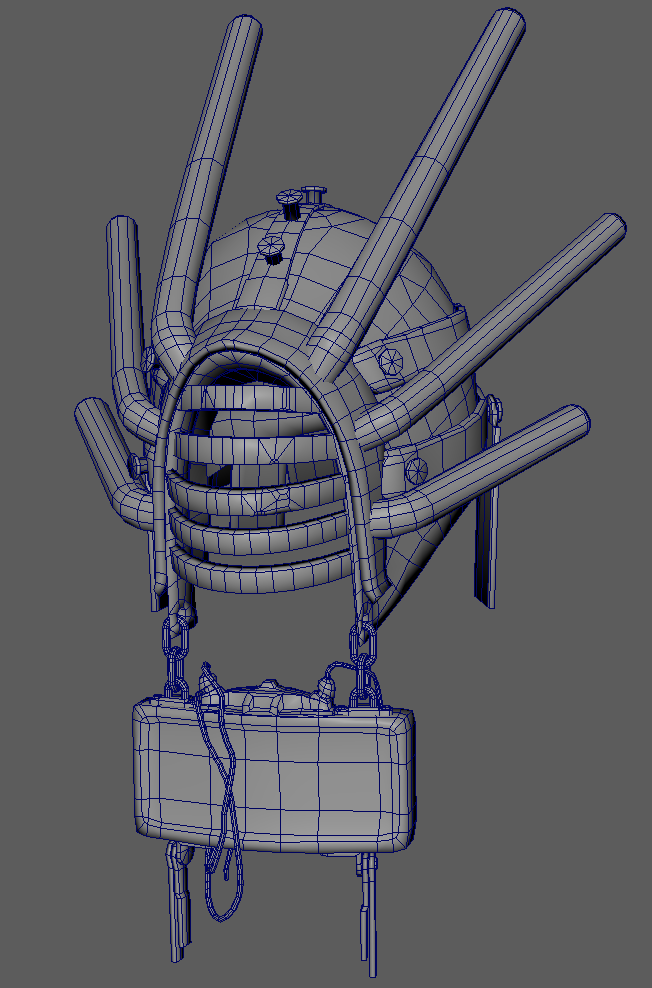
Step 1: Base Mesh
I started in Maya, making the basic shape with as much precision detail as possible. Every component (nails, belts, pipes, faceguard, etc.) is a separate object, allowing for crisper lines between them when sculpting and baking.
Topology was designed with subdivision techniques in mind, making later sculpting much easier.
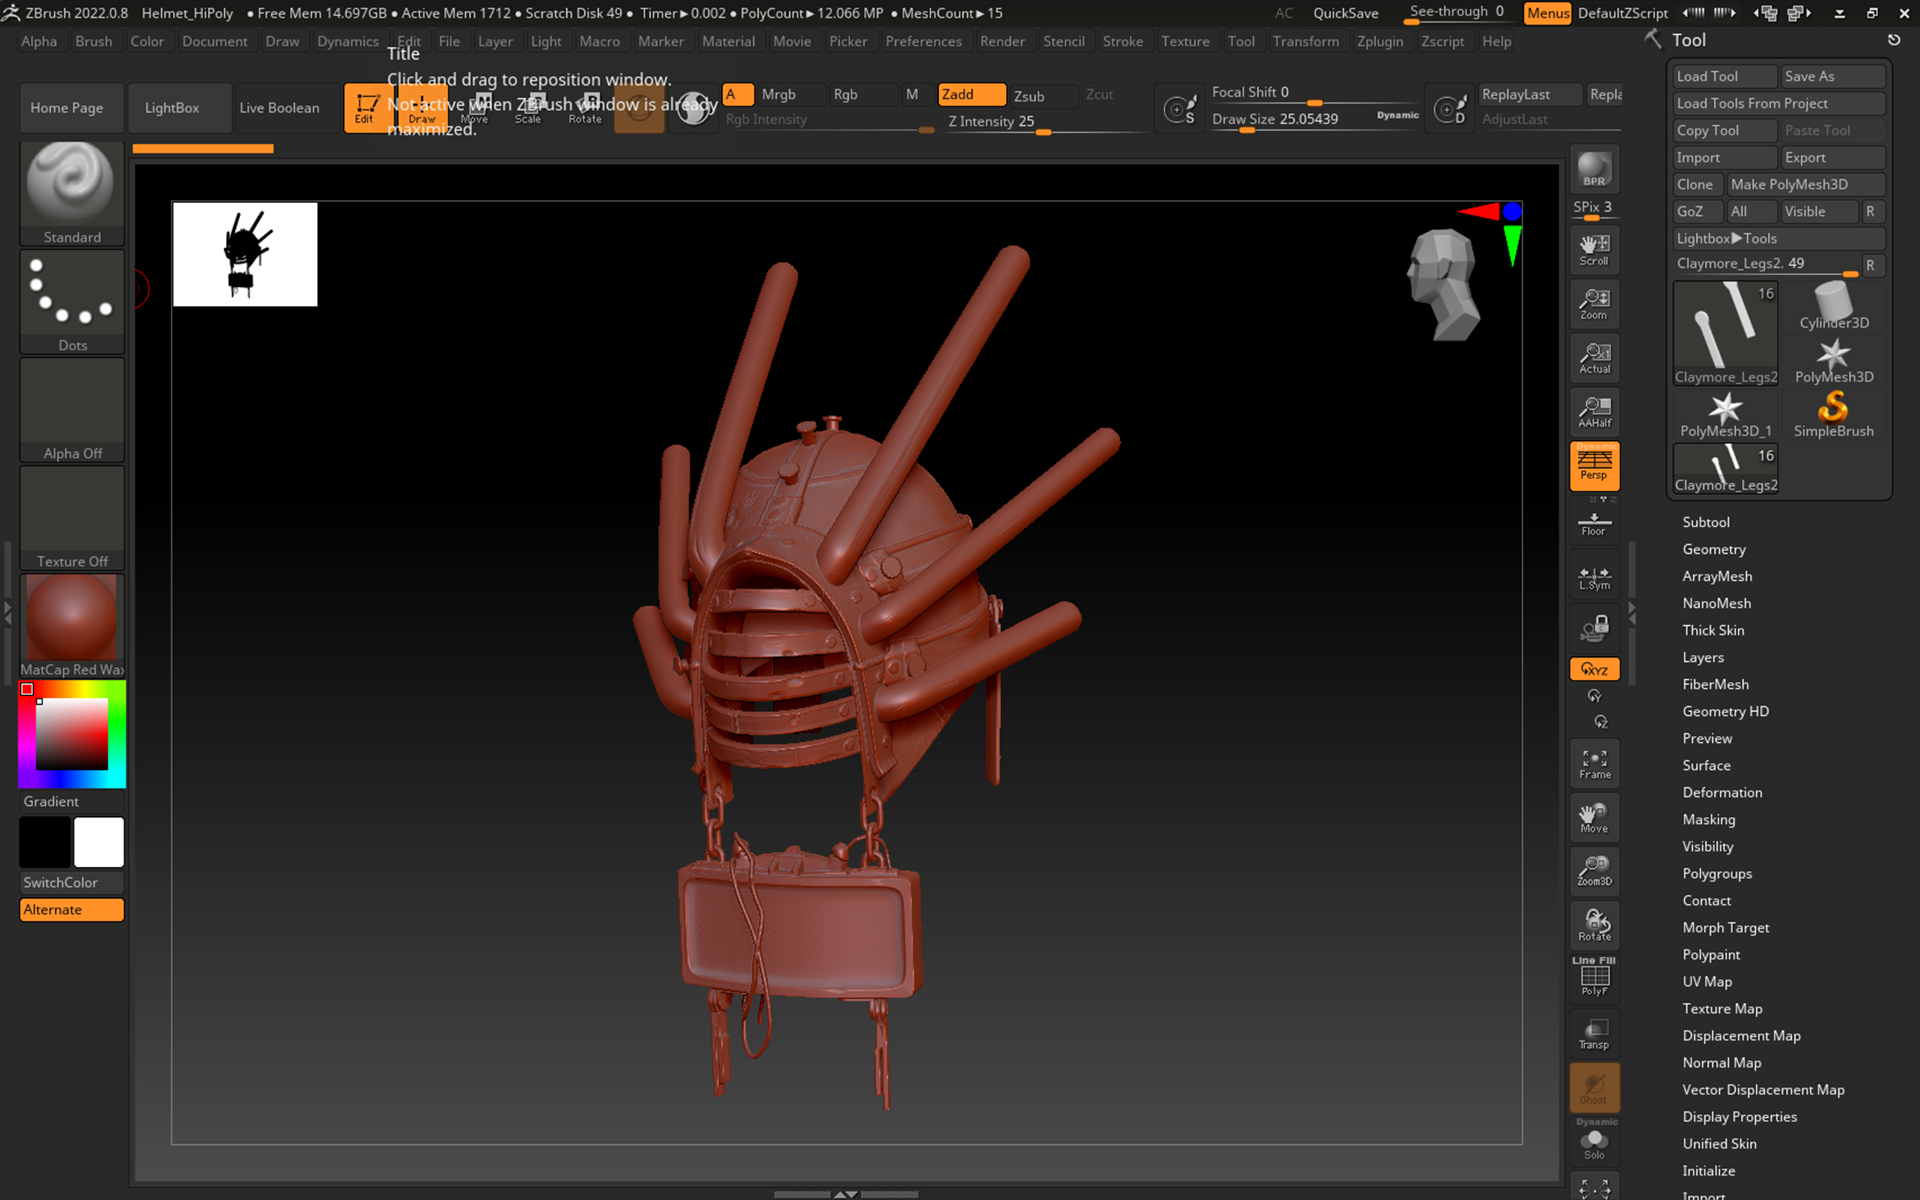
Step 2: Sculpting
The base mesh was imported to ZBrush, where all components were subdivided and sculpted. Because the components were all individual subtools, I could modify each one individually without issue.
I was, however, limited by my computer's performance, which struggled in the later stages of sculpting. Rudimentary versions of this missing detail would be added with heightmaps in the texturing stage.
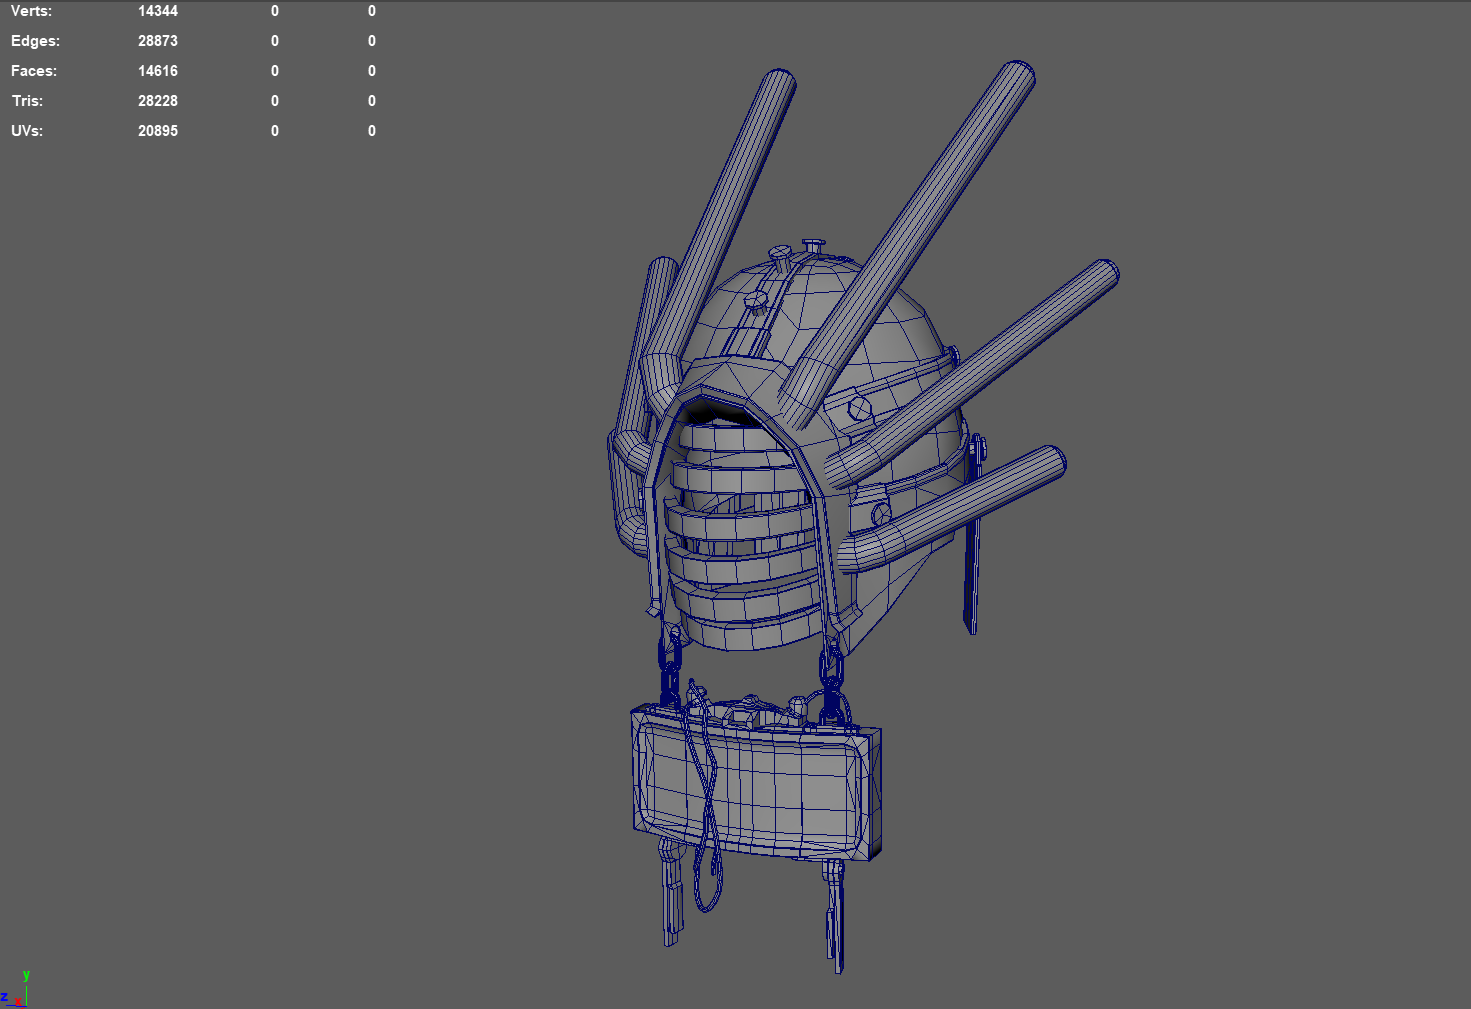
Step 3: Retopology
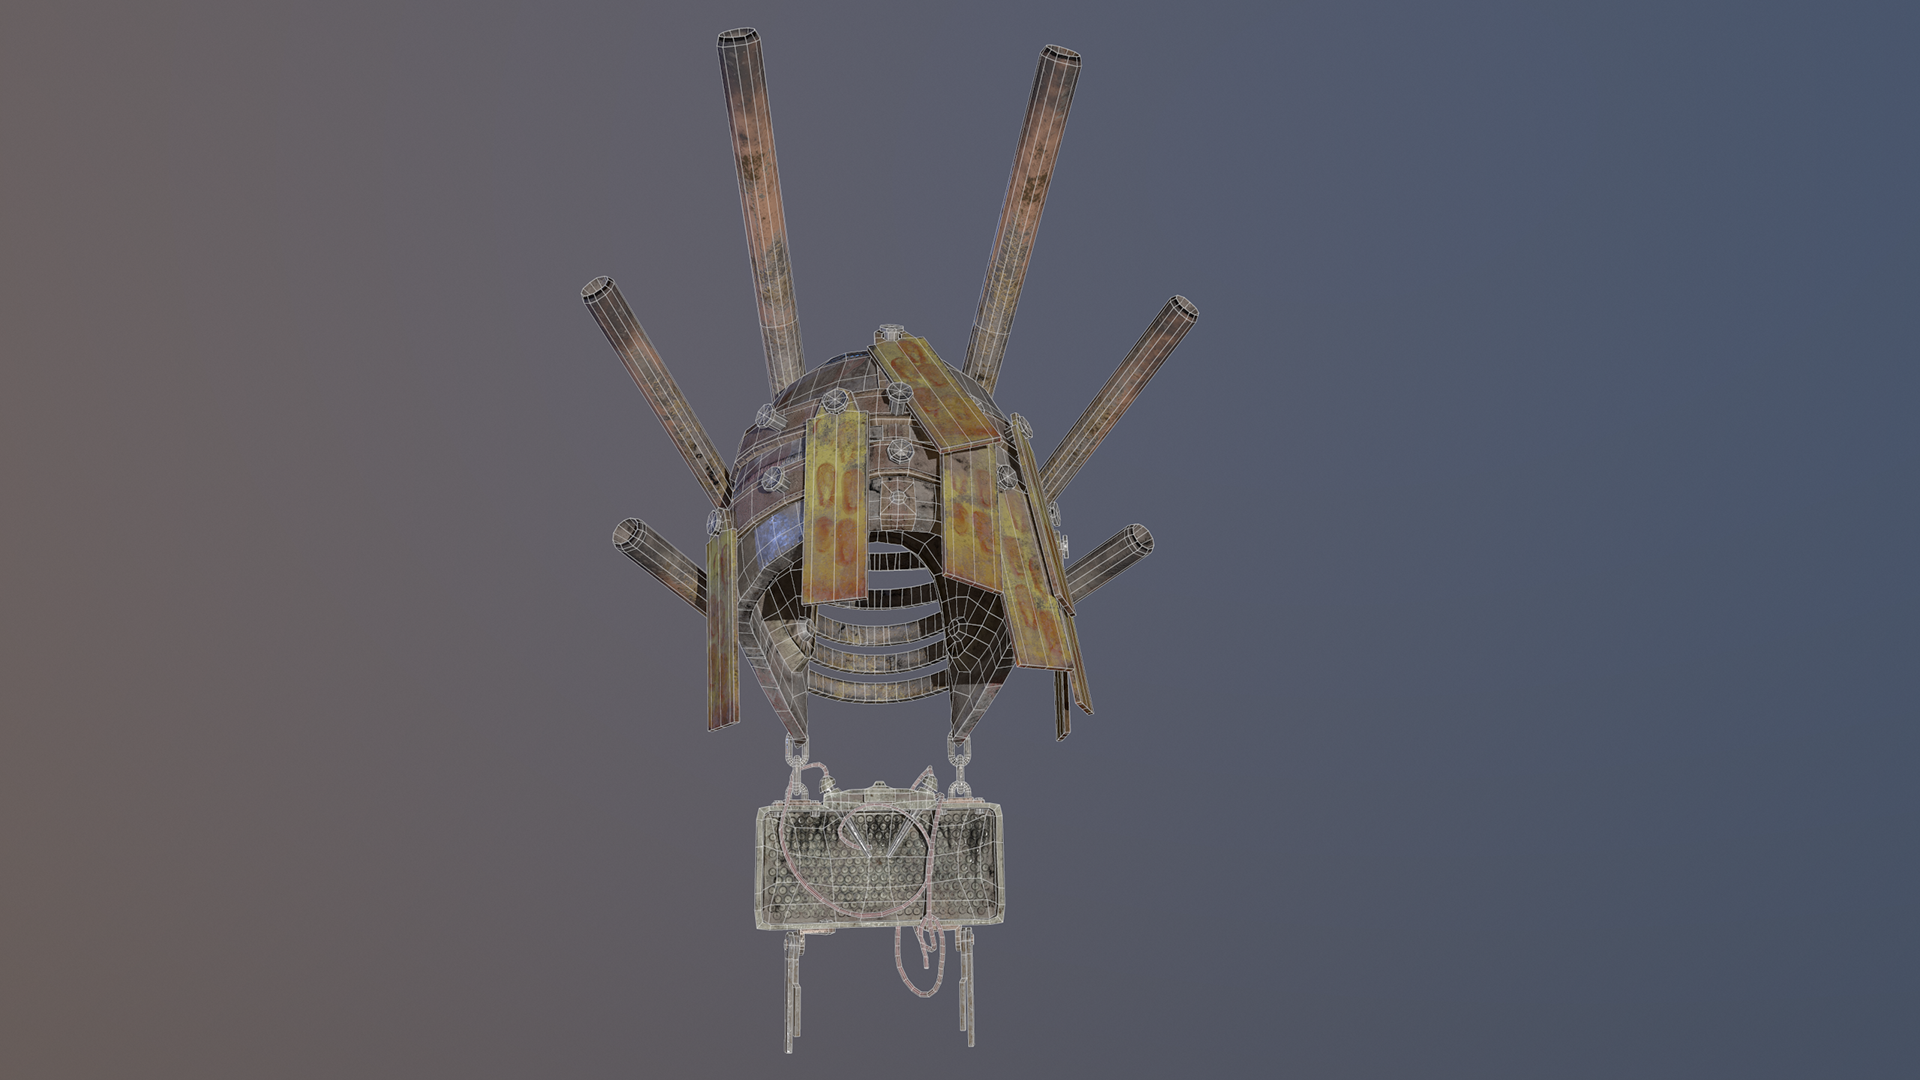
The hi-poly sculpt was reimported to Maya, where the quad-draw tool was used to make a retopologized mesh. Care was taken to conform to the silhouette, especially around the larger dents of the faceguard.
If I were to do this again, I would put more polygons into the protruding nails, as well as sculpt transitions for the larger weld beads.

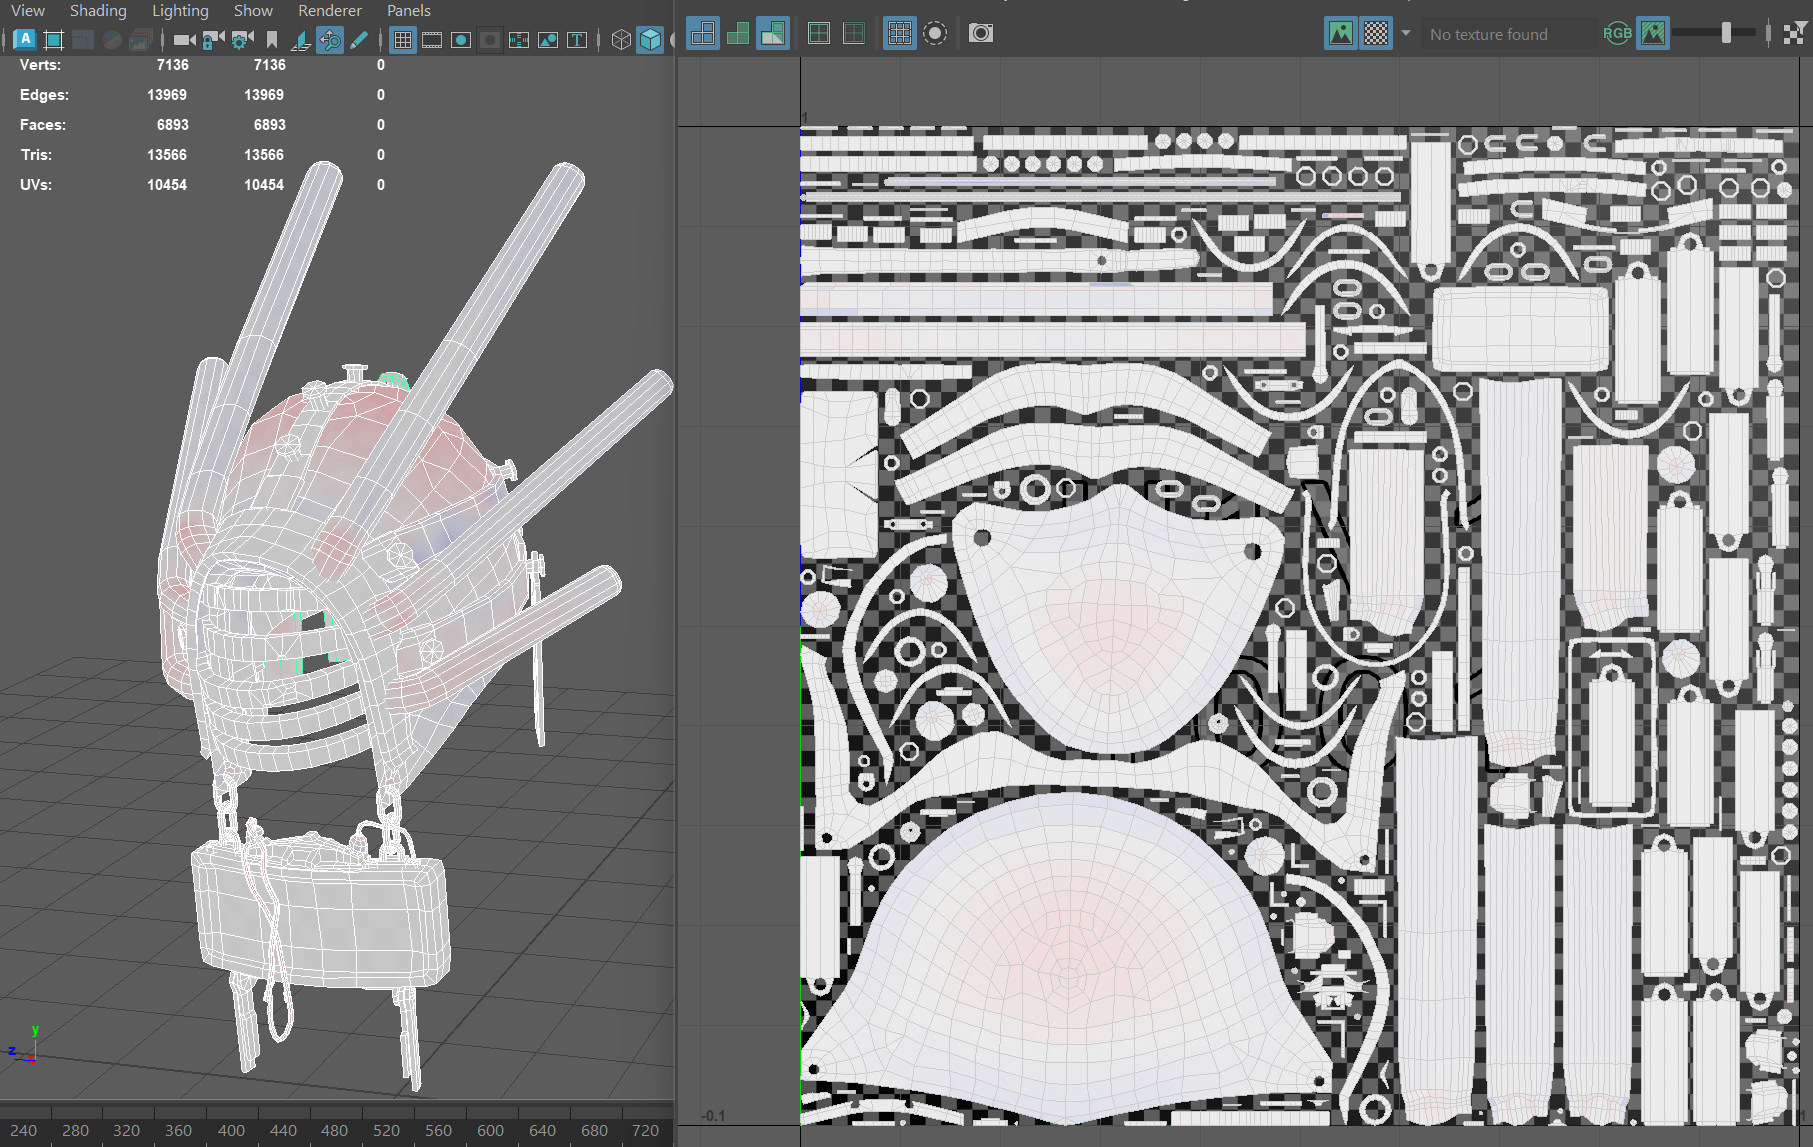
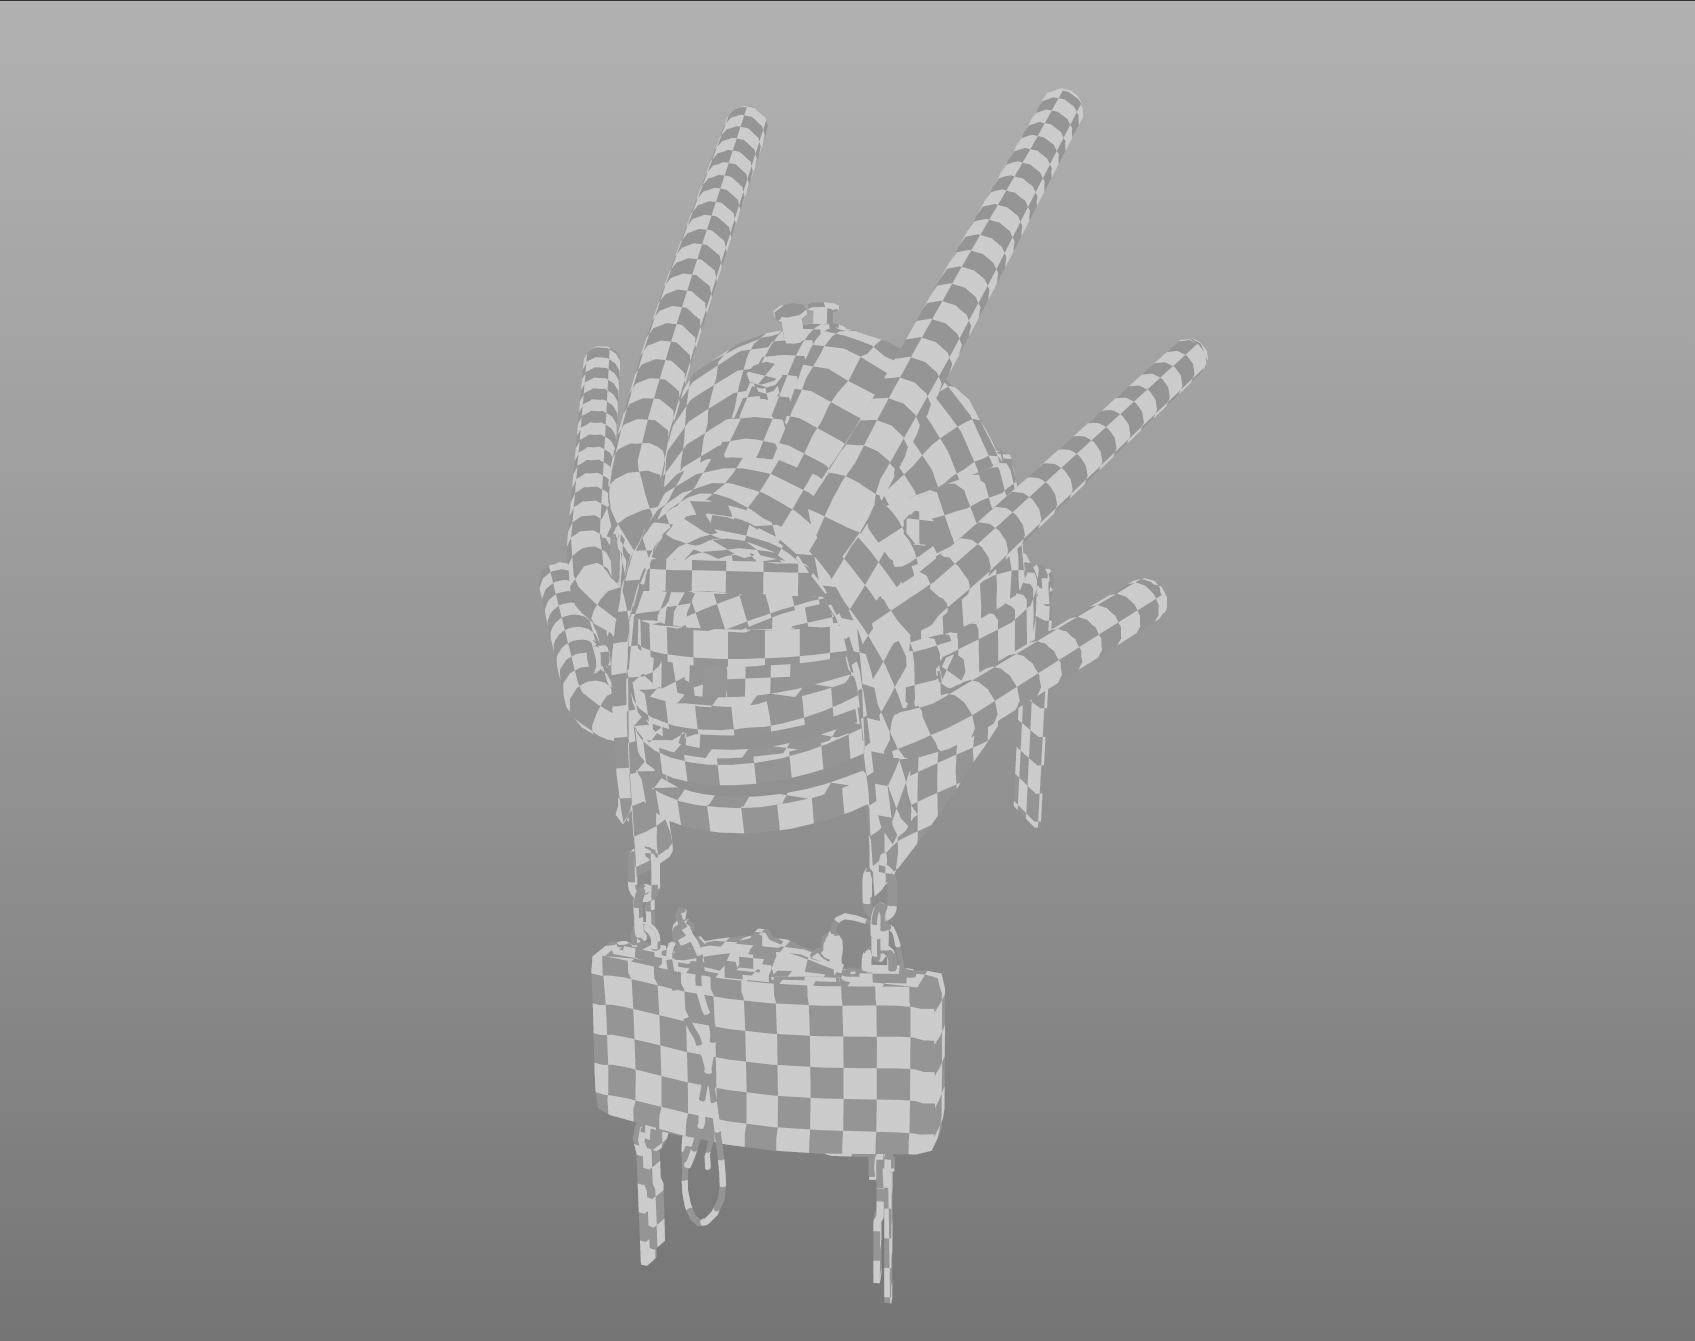
Step 4: Unwrapping
Because this model was intended for hero shots, I avoided stacking UVs, which would allow for more subtle variation in each element.
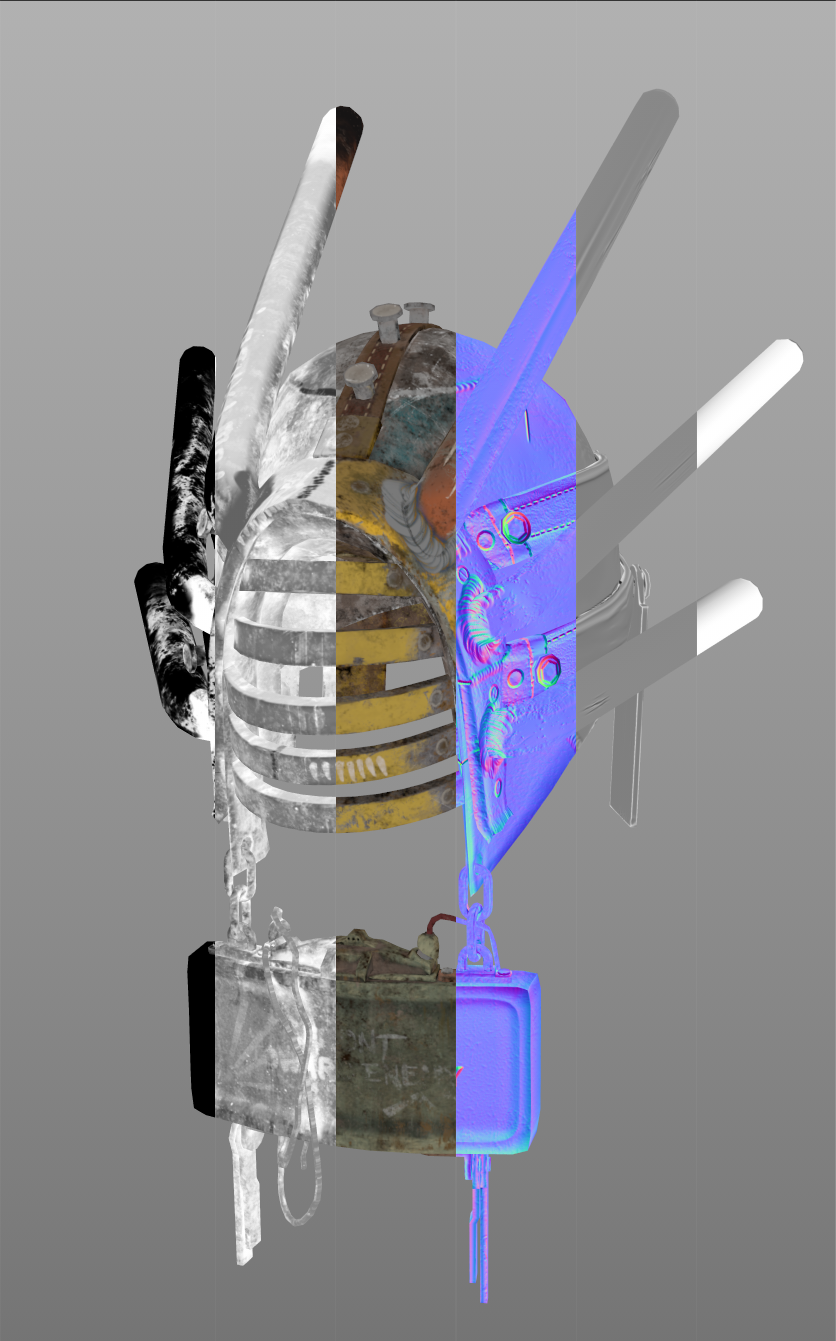
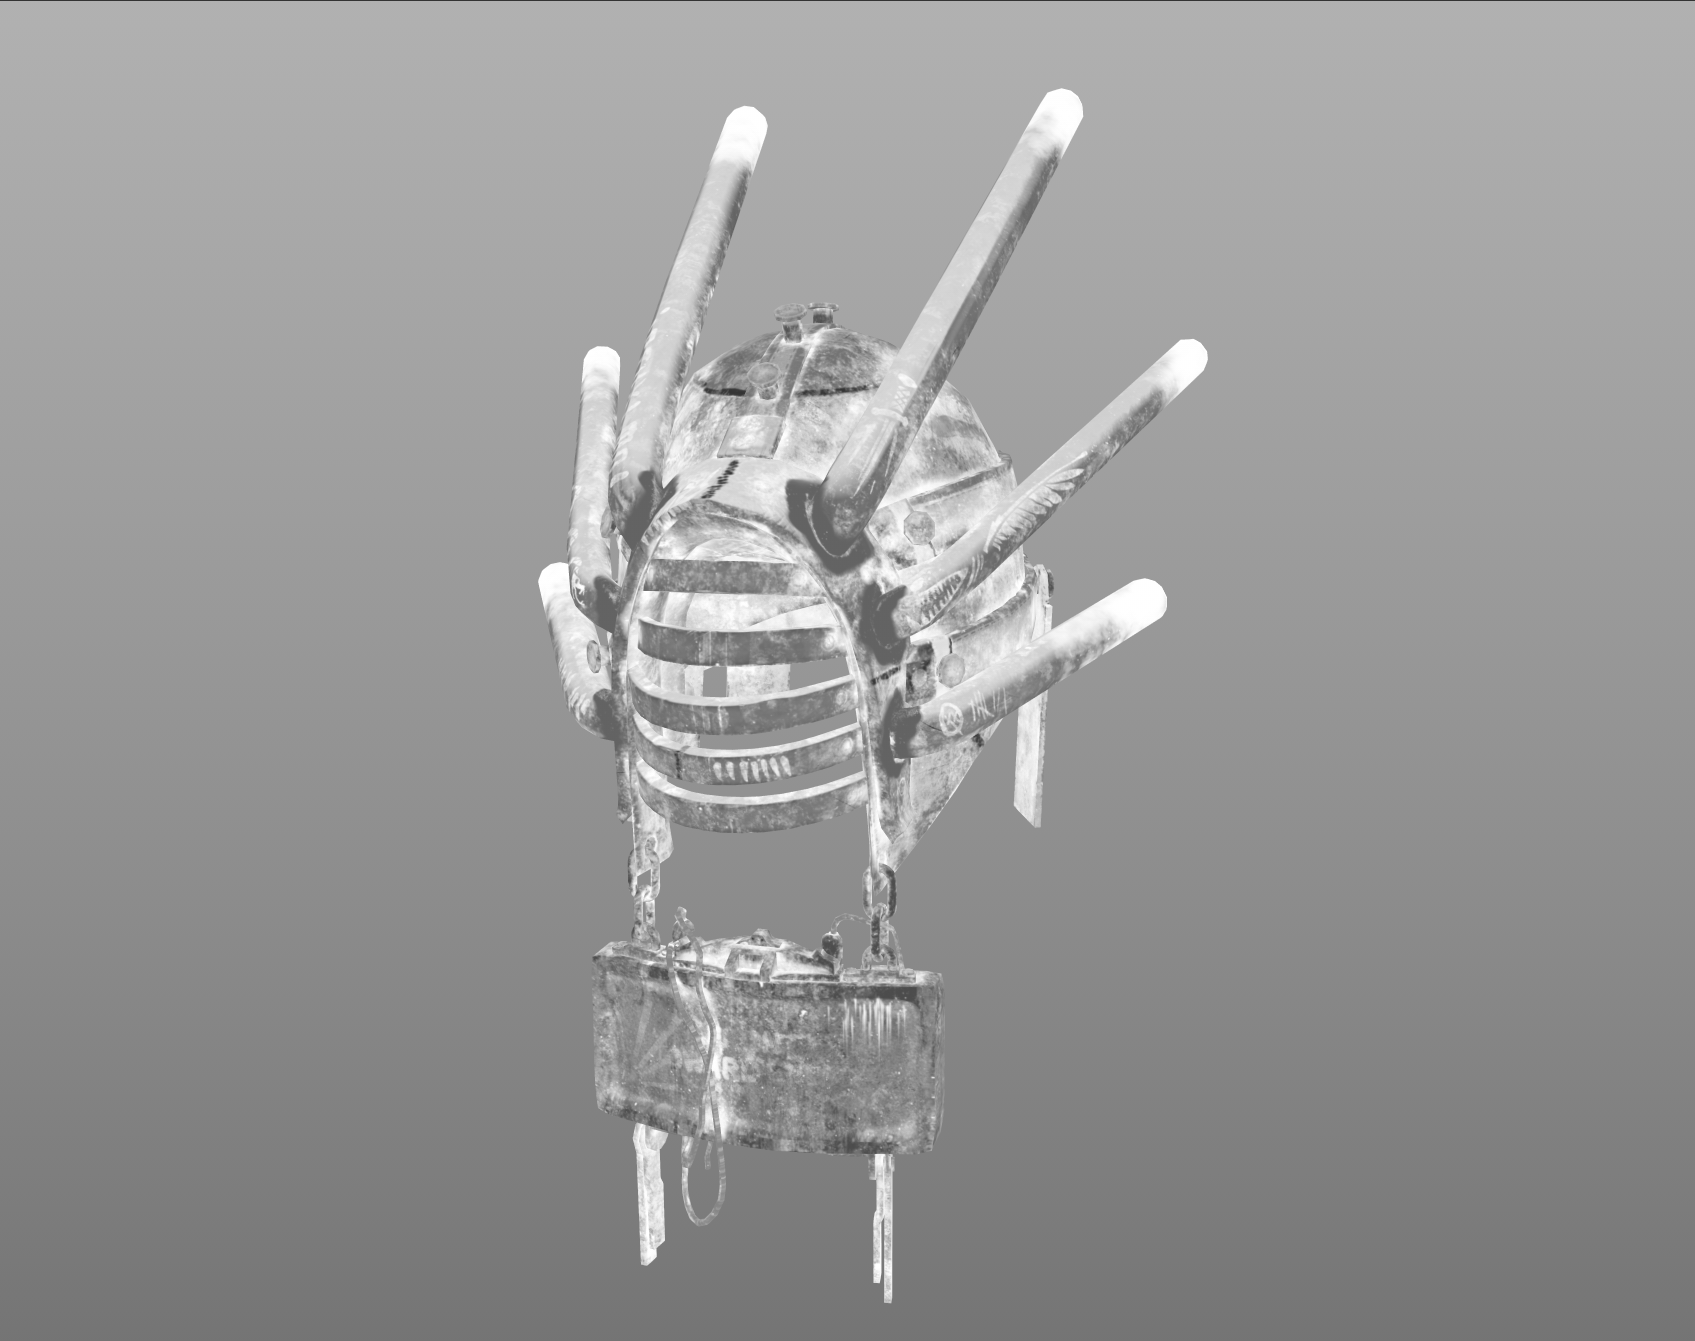
Step 5: Baking and Texturing
Since both the hi-poly and low-poly meshes had the same separated submeshes with the same names, each one could be automatically baked to their matching counterpart. This avoided muddy baked maps, especially in tight corners. The exception was Ambient Occlusion, which was baked to cover the whole thing at once to ensure consistent shadows.
After that, I painted the heightmap to reinforce the weld lines and sharper detail that got smoothed over with the bake. Then it was just a matter of modifying smart materials and masking to make an interesting and realistic-looking asset.

Material
Base Color
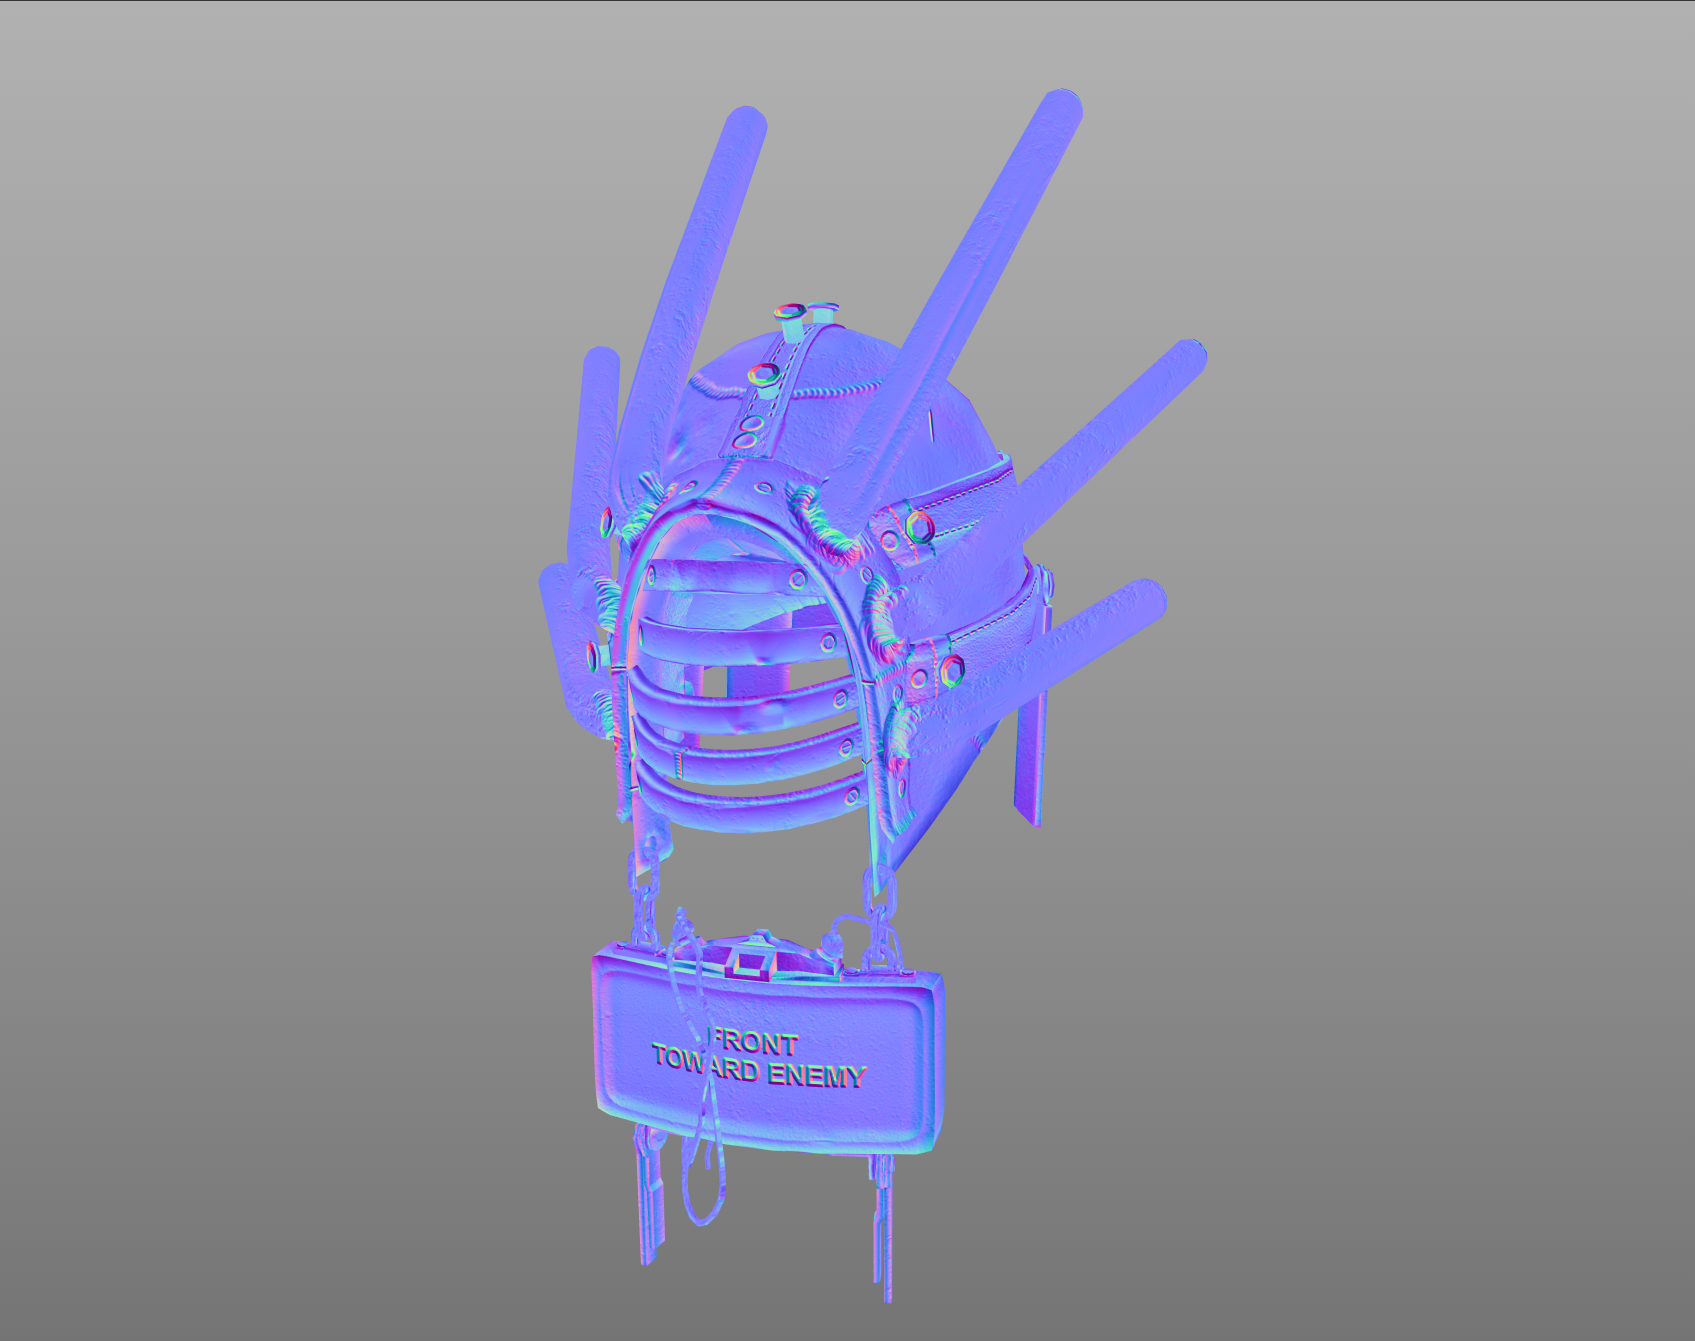
Normal+Height

Ambient Occlusion
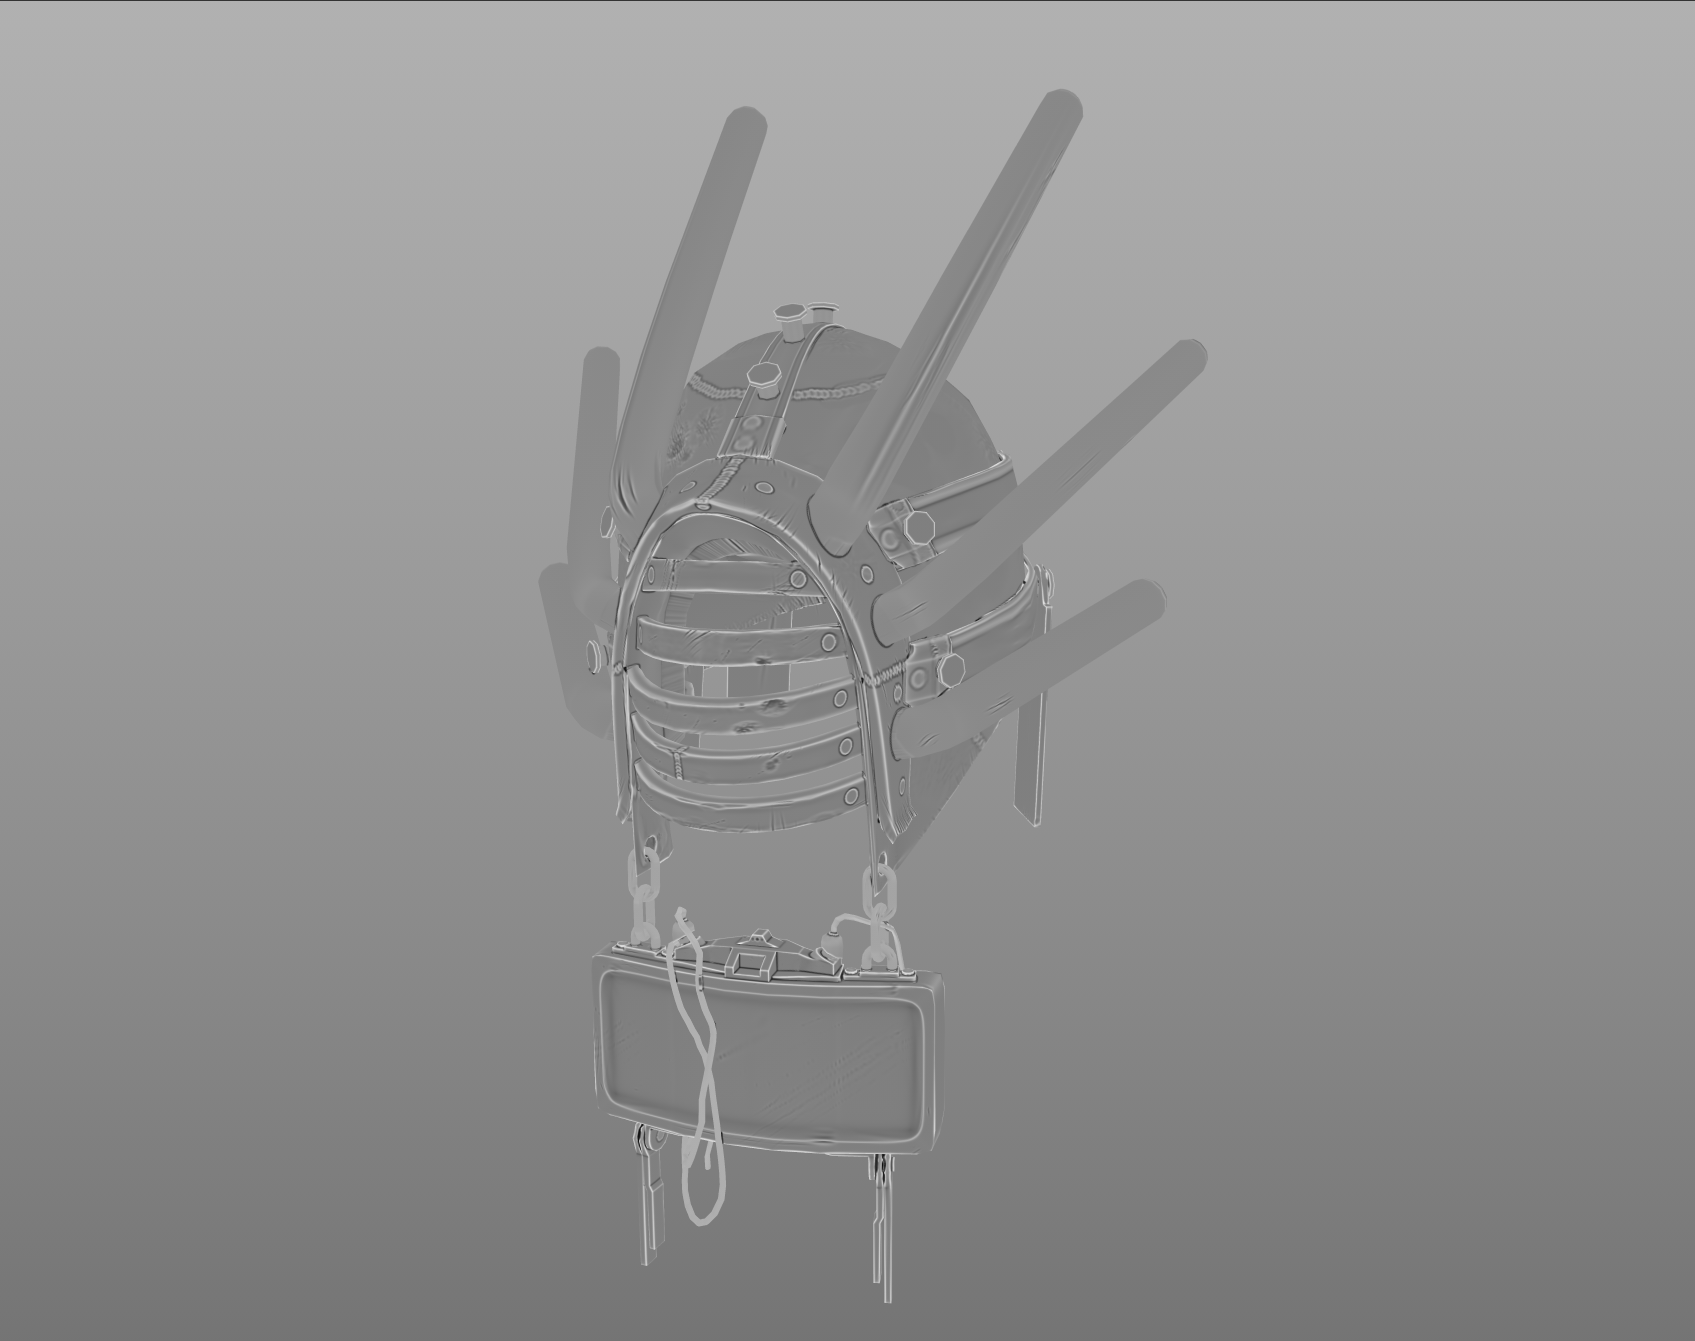
Curvature
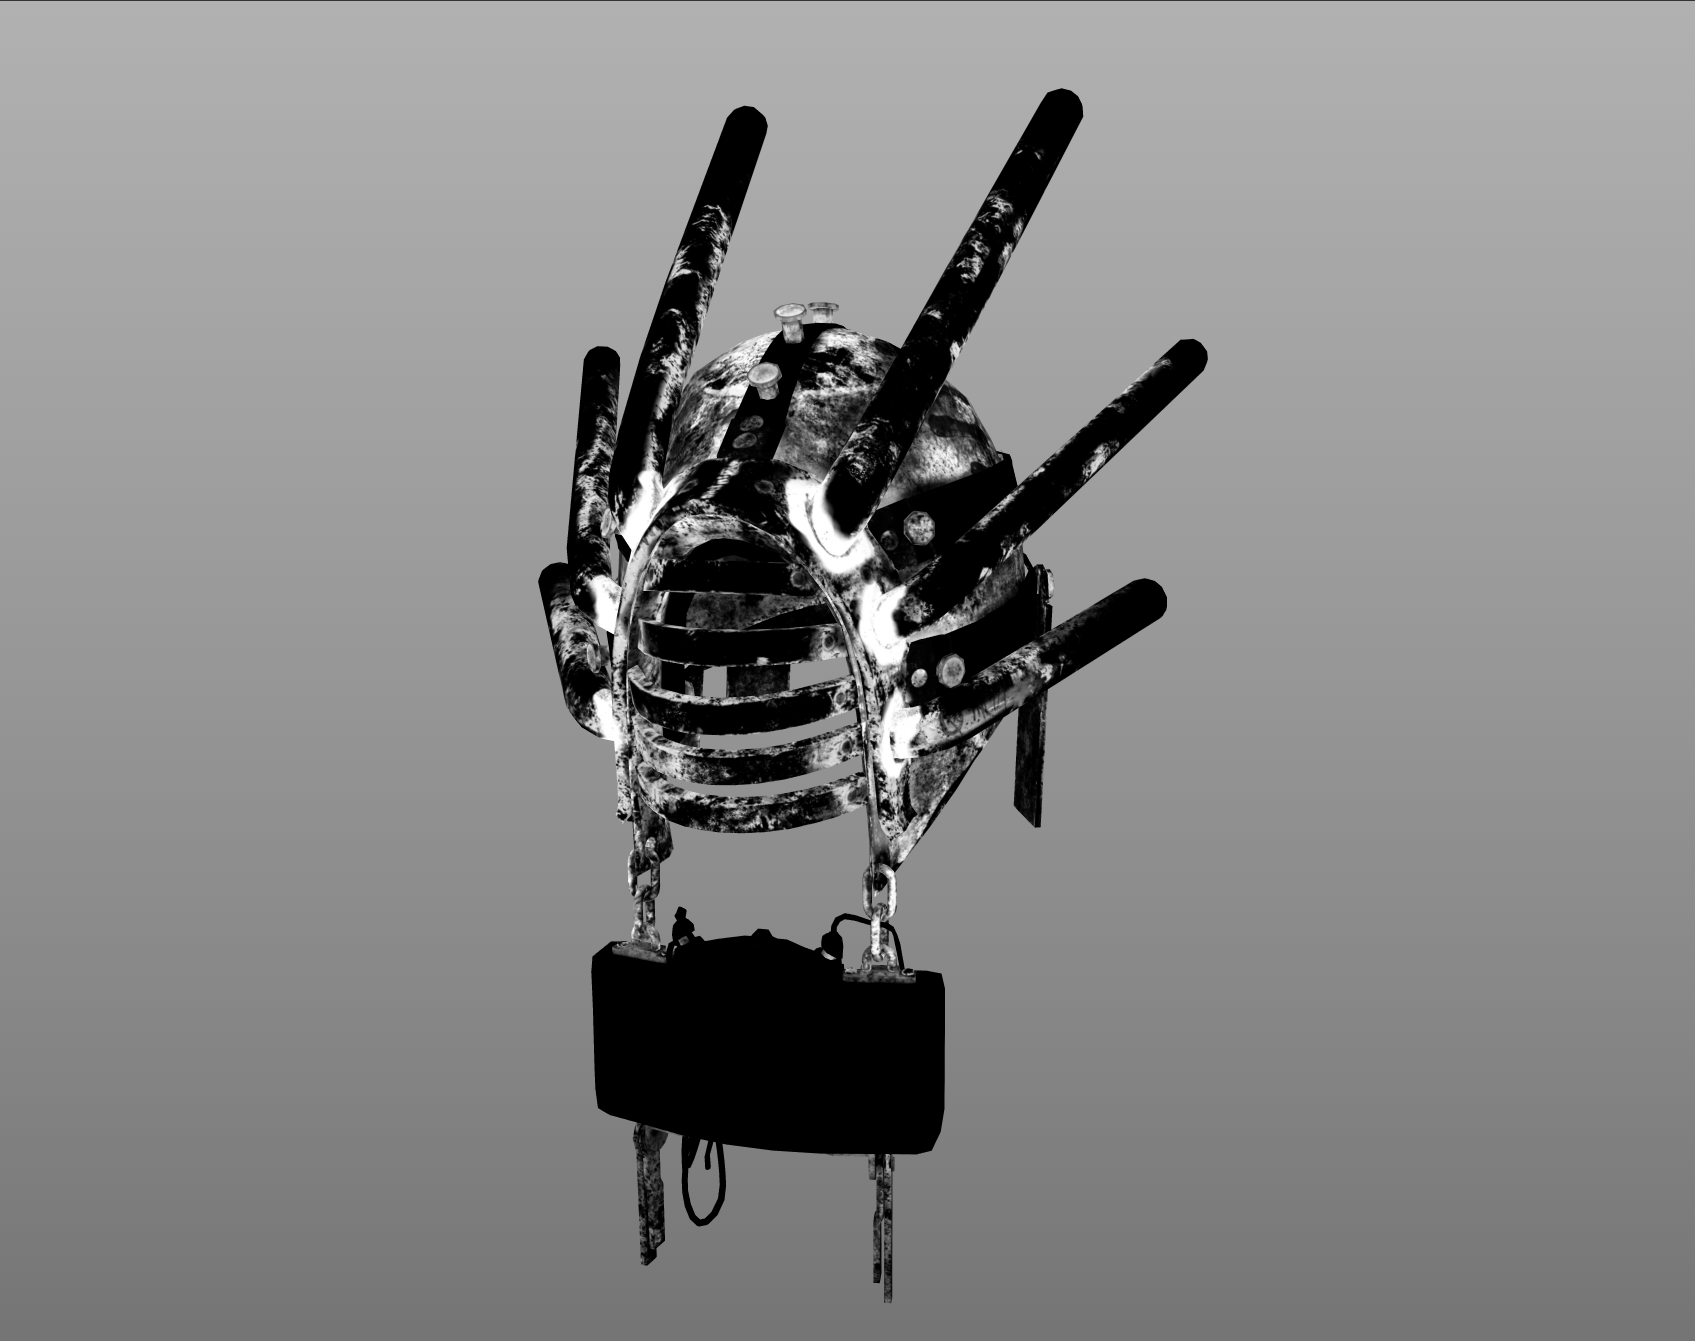
Metallic
Roughness
